Take Your Cricut Out of the Box!
How to Setup Your Cricut Machine
2/4/20264 min read
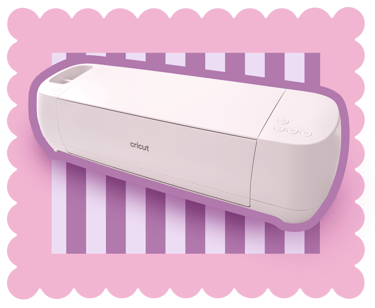
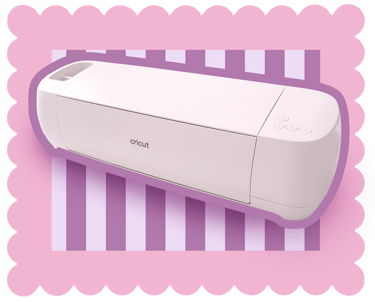
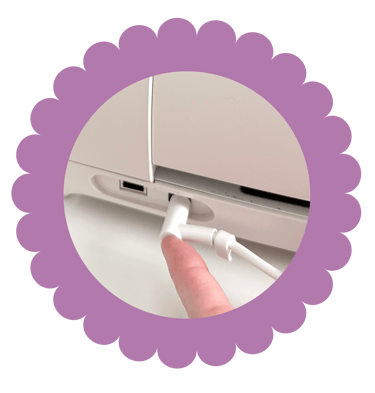
Once you get the machine unboxed, plug the power cord into the back and then the plug into an outlet.
So many times people have told me that "I have one of those, but have never taken it out of the box!" So let's do that today! You spent good money (or some one else did to gift it to you) so let's get some use out of it.
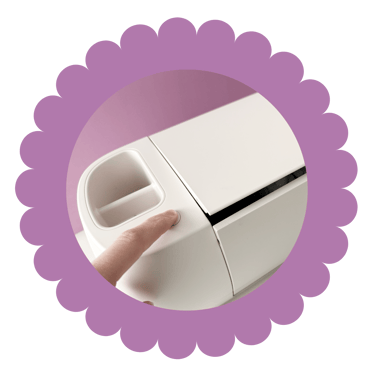
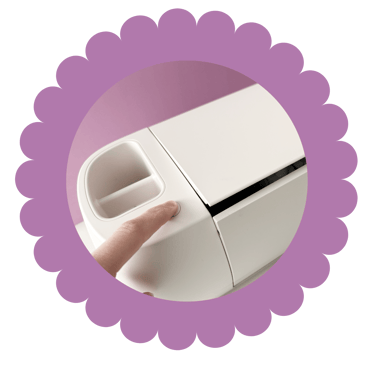
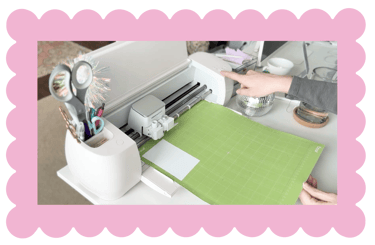
To open your Cricut, press the button on the left as shown in the photo, or if you have a Maker, simply open the top and the bottom panel will open at the same time.
Next, you'll need to install Cricut Design Space on your computer. In your web browser (ie: Safari, Chrome, etc...), type design.cricut.com and choose your machine from the dropdown. If you don't know, just look at the front panel of your machine.
Once you've installed and opened your software, it's time to create! How about a bookmark? I'm always looking for one of those and they're really easy to make.


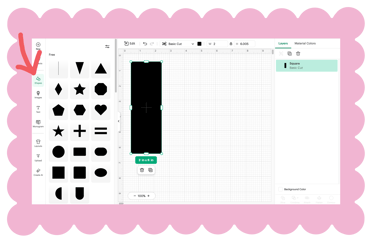
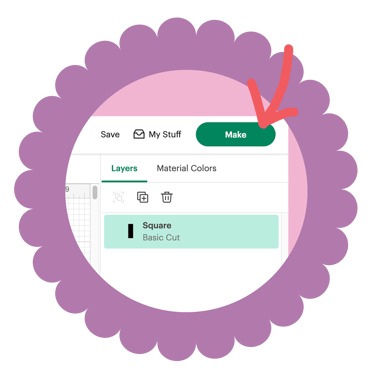
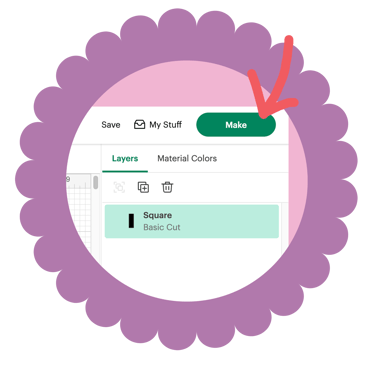
You'll open the shapes panel on the left and select the square. It will open as 2" x 2" so lets use the handle to drag the bottom to 6" so you have a standard 2" x 6" shape. Add some other shapes that you can cut from different colors of paper to glue onto your bookmark. Once you have it set up, click 'Make' in the upper left. You can choose your paper size on the left of the next screen and then click Continue on the bottom right.
On the next screen you'll select your paper type. This part is a bit of a learning curve especially if you are using specialty paper, but if you haven't purchased any yet I highly recommend starting with light 65lb cardstock from your craft store. The light cardstock setting is the easiest! For more information about paper, check out my YouTube video.
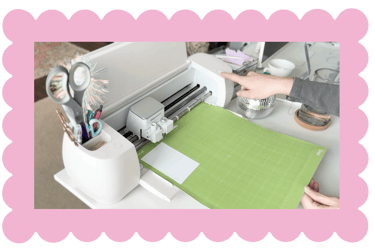
Place your paper on the mat and then slide it under the two side guides until it won't go. Press the load button – it will blink when ready for paper. The Cricut will take your mat and measure it. Once it's ready to cut, the Go button (middle button) will flash. Push this to start your cut. Once it's complete the first button will flash again. Press that to remove your mat. If at any point you need your machine to stop cutting, hit the third button to pause. This doesn't also work as quickly as you need it to so in a pinch, you can just shut your machine off with the power button to stop the cut.
Gently bend your mat to peal the cut paper off. Glue any additional pieces you cut to your bookmark and that's it!
Easier than you thought it would be? Don't worry if you had some hiccups, that's totally normal! But even if you did have some, was it easier than you expected?
If you aren't quite following this blog post, check out my YouTube video below where I walk you through all of these steps and even make a more complex bookmark. Sometimes it's easier to learn by watching too. I hope this helped and that you'll continue to use your Cricut. I have a large collection of SVG files in my Shop section that you can explore for more fun Cricut crafts! And if you aren't sure how to upload SVG files, I have a video for that too.
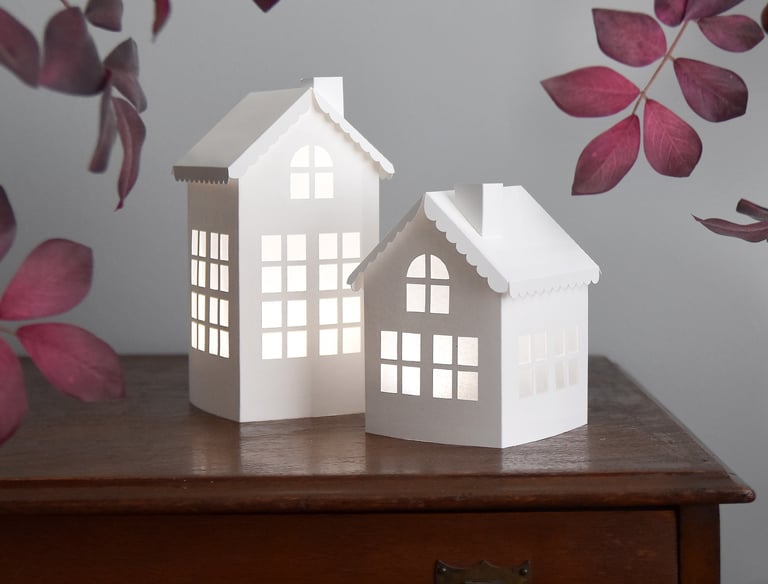
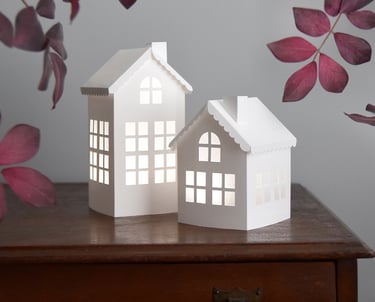
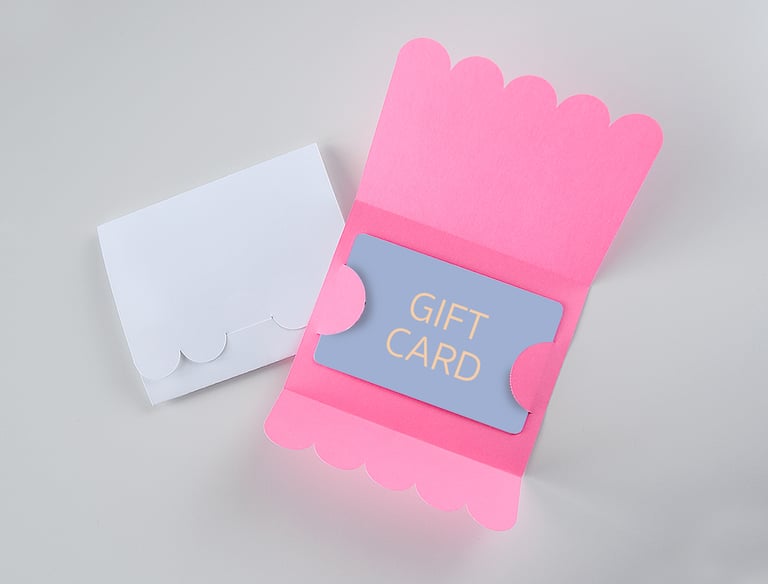
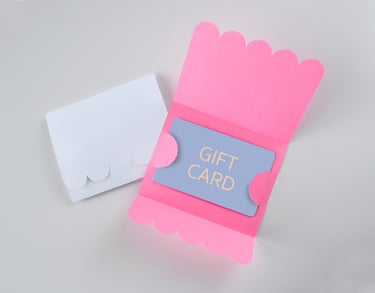
Great Templates for Cricut Beginners
I always have the beginner in mind when creating even complex files, but these are the easiest to start with.
3D Flower